This guide applies to WordPress 6.0+ and PHP 7.4+. You need a live24h account, a workspace and an API key with write permission – see the shared steps .
Install
- Download the live24h Website Monitor plugin as a direct download from live24h.
- In the WordPress admin, open Plugins → Add New → Upload Plugin and choose the ZIP file.
- Activate the plugin after the upload.
Listing in the official WordPress.org directory will follow; until then, the direct download is the way to go.
Step by step
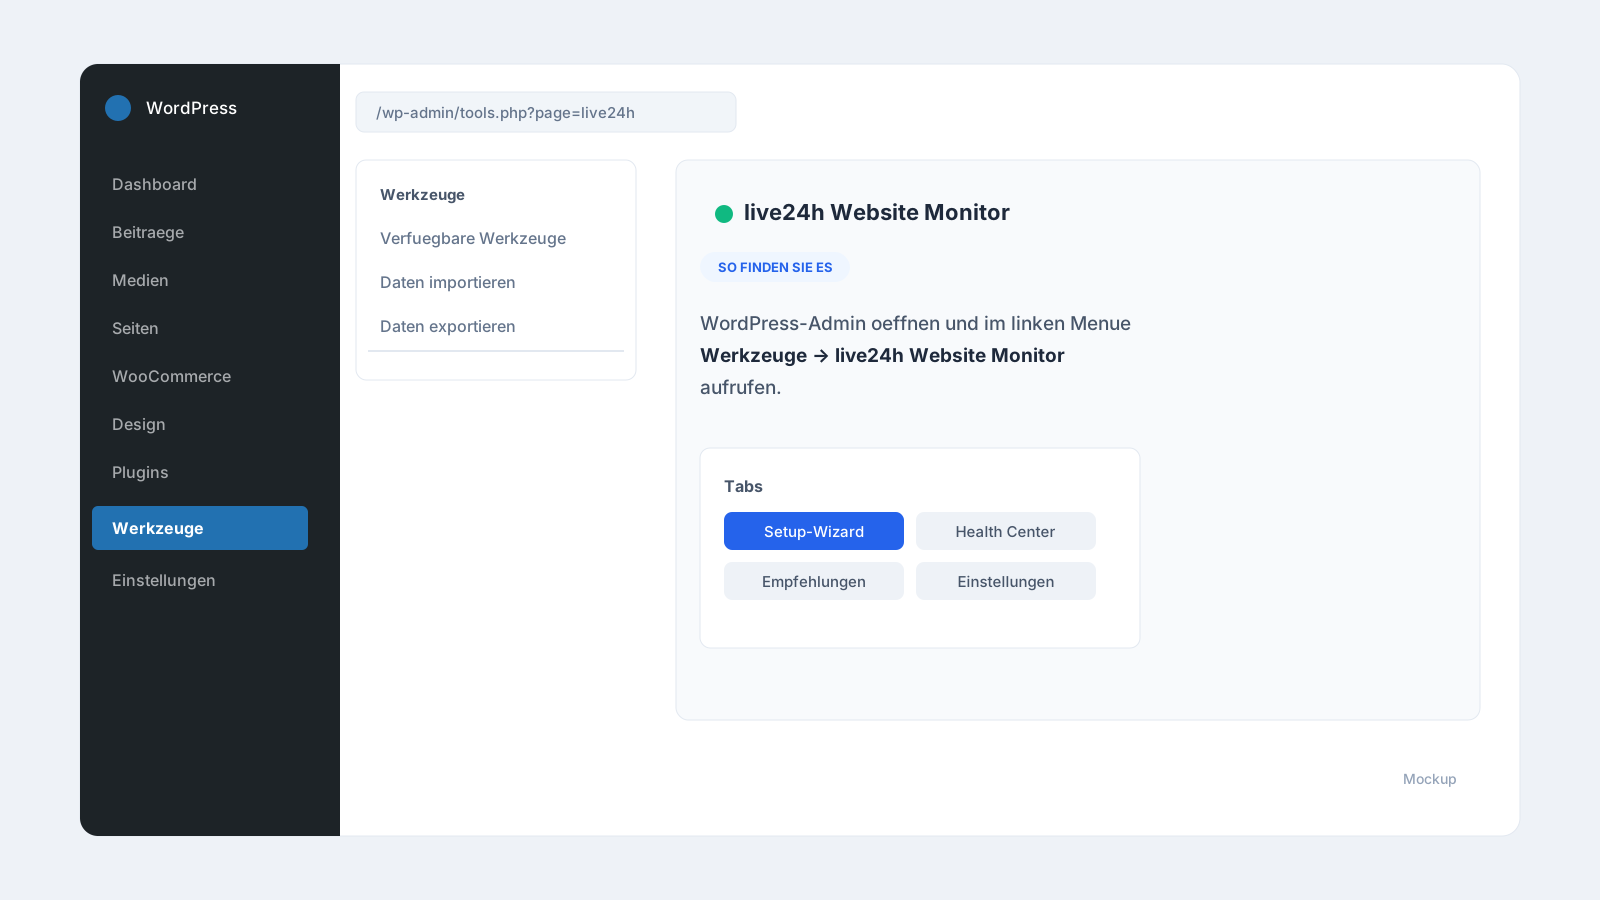
- In the WordPress admin, open Tools → live24h Website Monitor.
- Switch to the Settings tab, paste the API key and save.
- Click Test connection. You should see “Connected” with your workspace.
- Start the scan.
- Review the General, SEO, WordPress, Performance modules and – if active – WooCommerce.
- Take a look at the Website Health Score.
- Select the suggested checks. Locked suggestions are marked “From Pro”.
- Click Create checks.
- Afterwards, add alert channels, tags and a Status Page in the live24h dashboard .
When WooCommerce is active, shop, cart and checkout URLs are included automatically.
Troubleshooting and tips
“Test connection” fails.
Check whether the API key is pasted correctly (it starts with lv24_) and whether your server can reach https://api.live24h.eu outbound. In locked-down hosting environments, a firewall or proxy sometimes blocks the connection.
Checks are not created (error 403). The key does not have write permission. Create a new key in live24h with write permission for checks – a read-only key only works for the connection test.
A suggestion is greyed out or marked “From Pro”. The check type is not included in your current plan. You can deselect it or upgrade your plan .
WooCommerce paths are missing from the result. Make sure WooCommerce is active and that the shop, cart and checkout pages are set in the WooCommerce settings. Without those pages set, the plugin cannot derive them.
A Heartbeat check stays on “Waiting”. This is normal and not an error: a Heartbeat waits for the first signal from the monitored job (the ping to the Heartbeat URL). As long as WP-Cron or the backup job has not reported in yet, the check stays on “Waiting” – not on “Outage”. As soon as the job runs for the first time, the status switches to “Operational”.
The WP-Cron Heartbeat does not report in.
WordPress only triggers WP-Cron on page views. With little traffic, a job can appear “late”. Anyone using a real server cron with DISABLE_WP_CRON set should point the Heartbeat at the actual cron.
Caching or security plugins distort the result. Aggressive caching or bot-protection plugins can affect the scan. If the values look implausible, briefly re-check the result with the cache paused.
Frequently asked questions
Is the plugin only meant for shops? No. It suits any WordPress website and automatically becomes more comprehensive as soon as WooCommerce is active.
Does the checkout check trigger real orders? No. It monitors the reachability of the paths, not an actual payment.
Can I repeat the scan? Yes. You can rescan at any time and create more checks without affecting existing ones.