This guide walks you through setup without marketing language. Here you will find the shared steps for all systems – workspace, API key and the general flow. The system-specific installation, including troubleshooting, lives in the dedicated guide for your CMS.
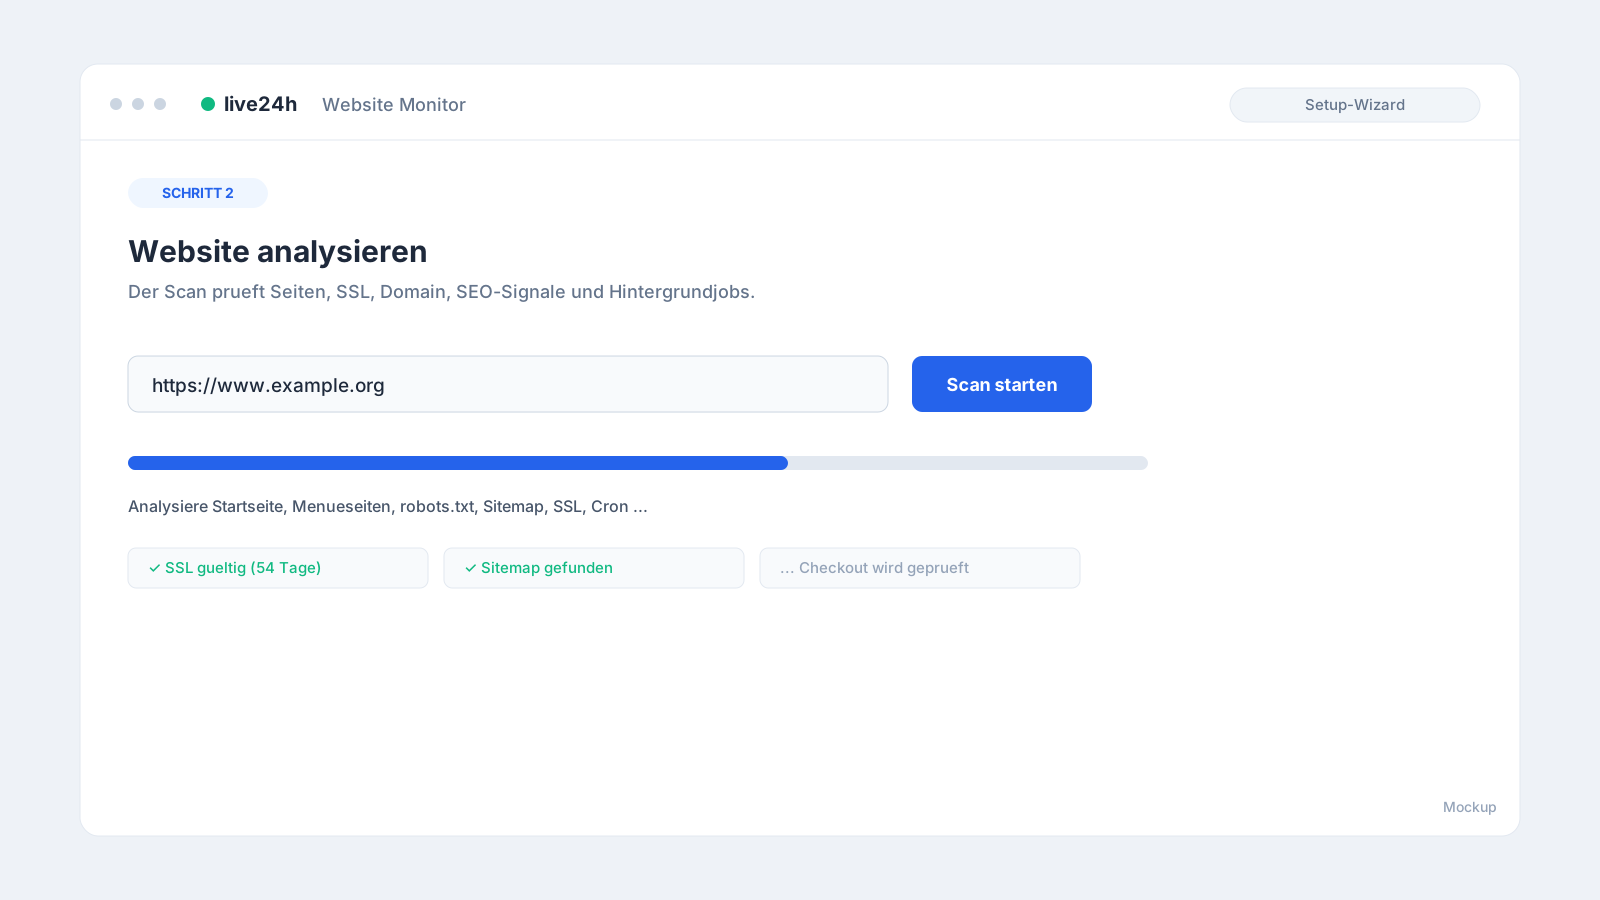
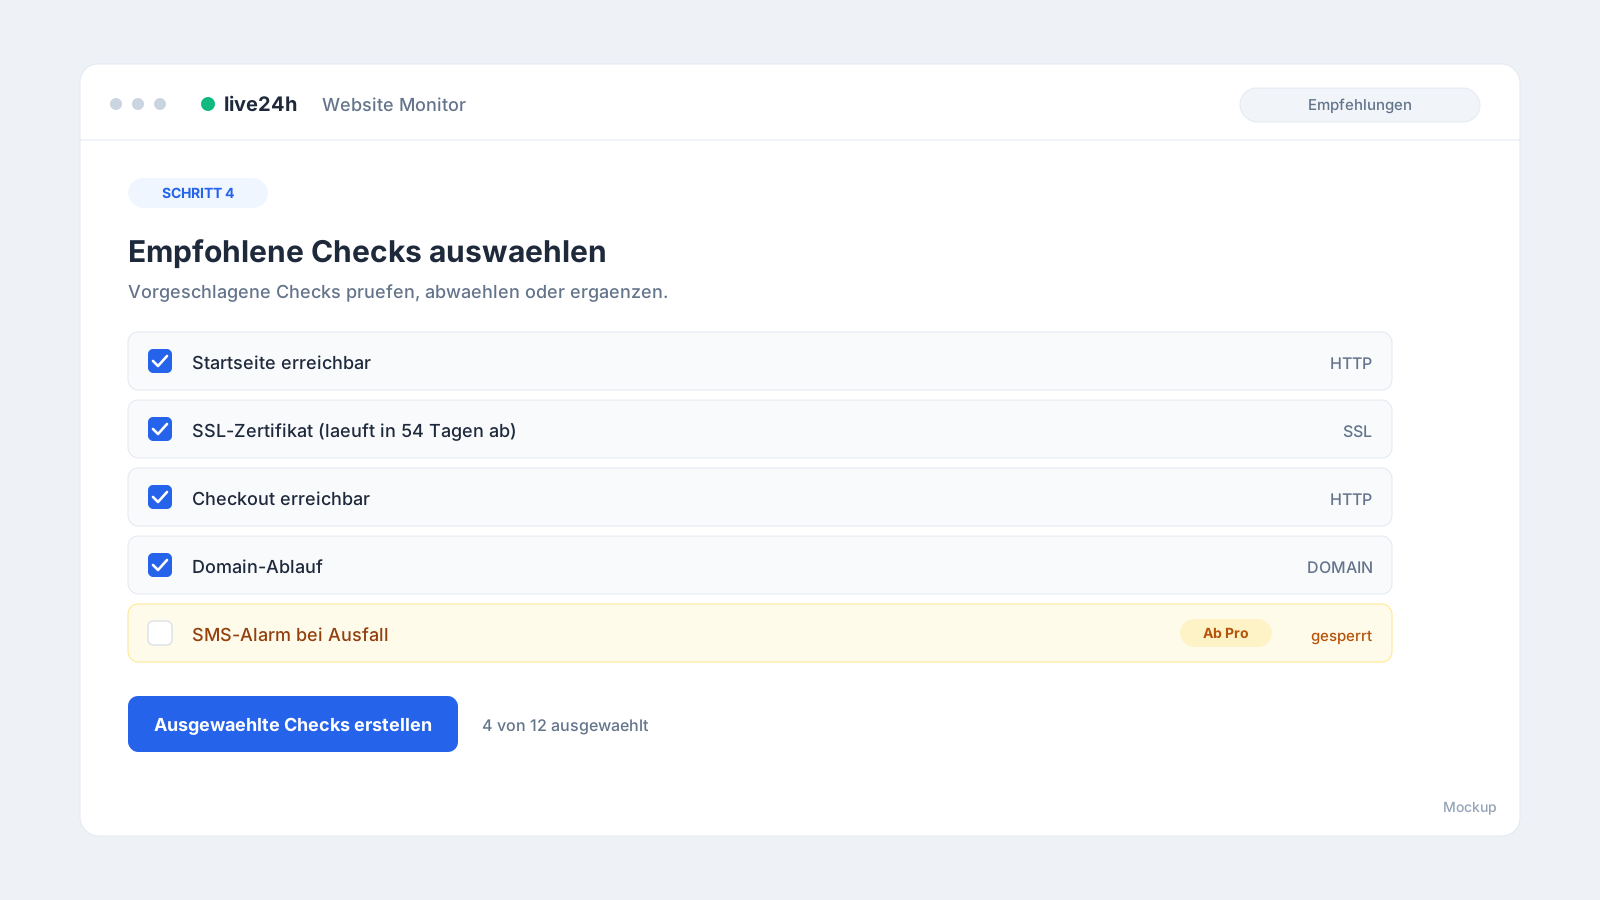
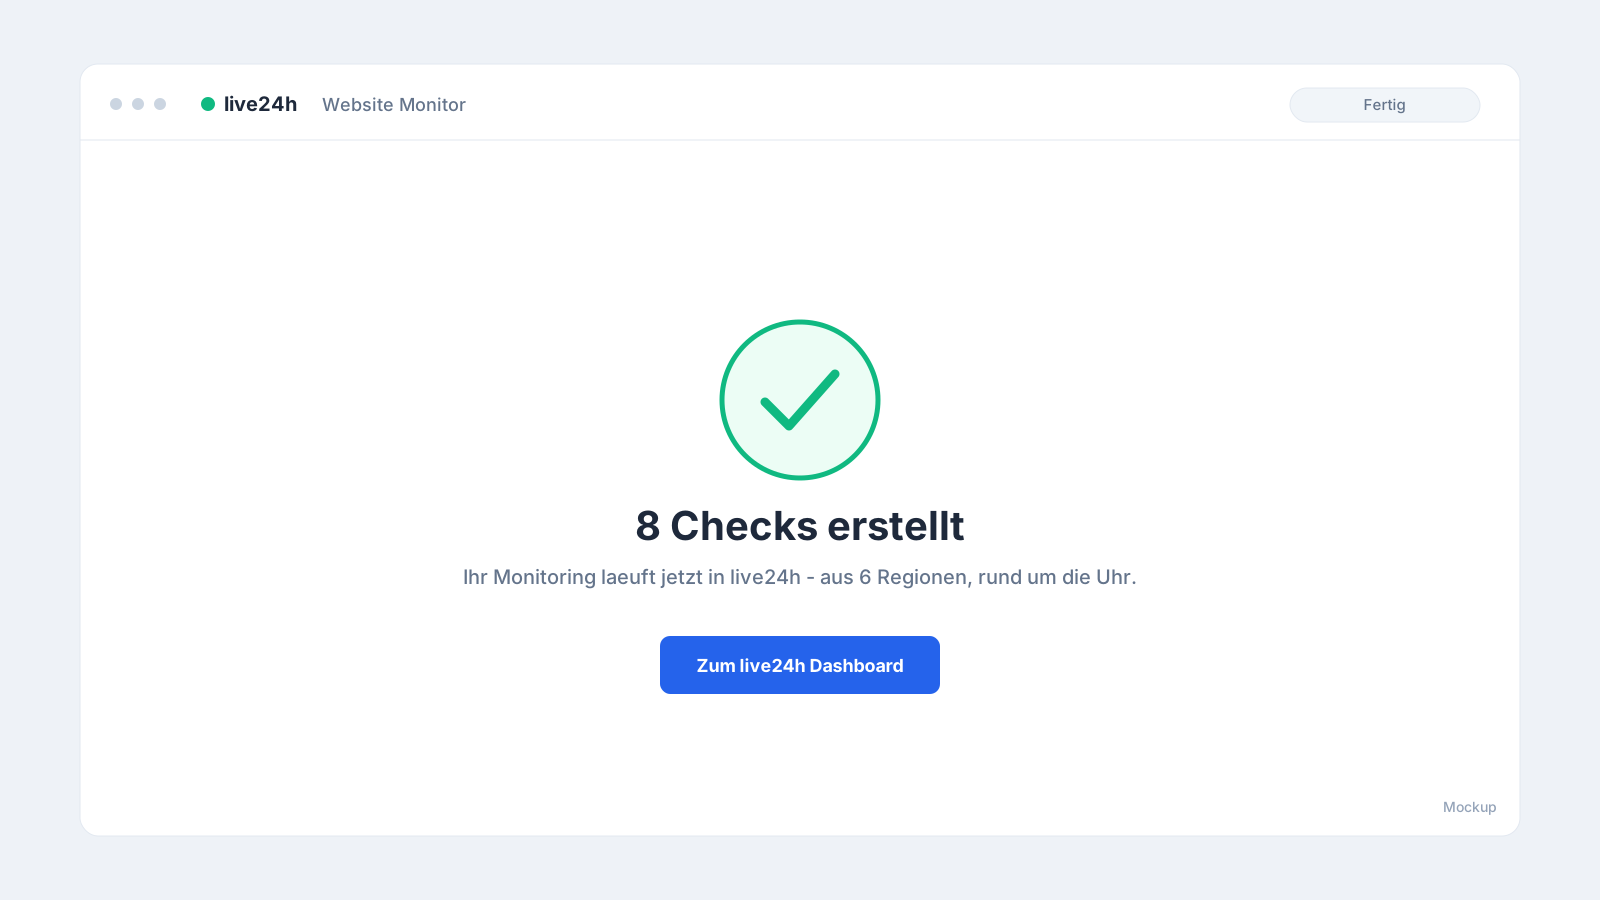
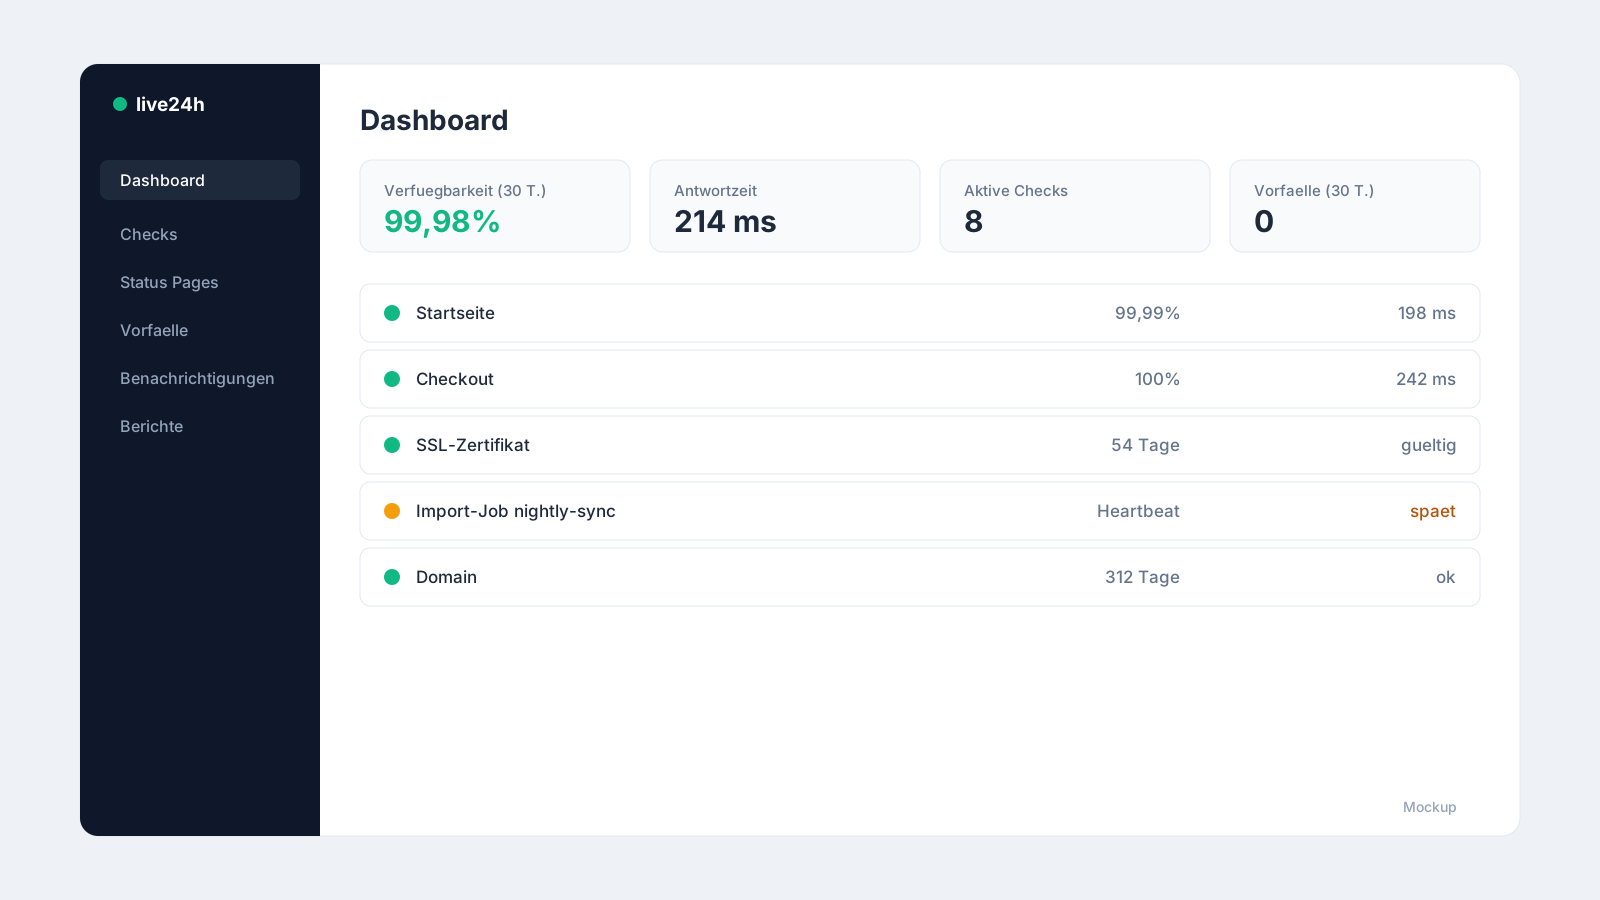
Important to understand: the plugin only sets up the monitoring. It analyses your website and creates the matching checks in live24h. The actual 24/7 monitoring then runs on the live24h platform – not inside your CMS.
Before you start
You need:
- a live24h account (the Free plan is enough to get started)
- a workspace for the website or the client
- an API key with write permission
- the installed plugin or extension
- an outgoing connection from the CMS to
https://api.live24h.eu
Create a workspace and API key
- Sign in at app.live24h.eu .
- Open the right workspace or create a new workspace for the project.
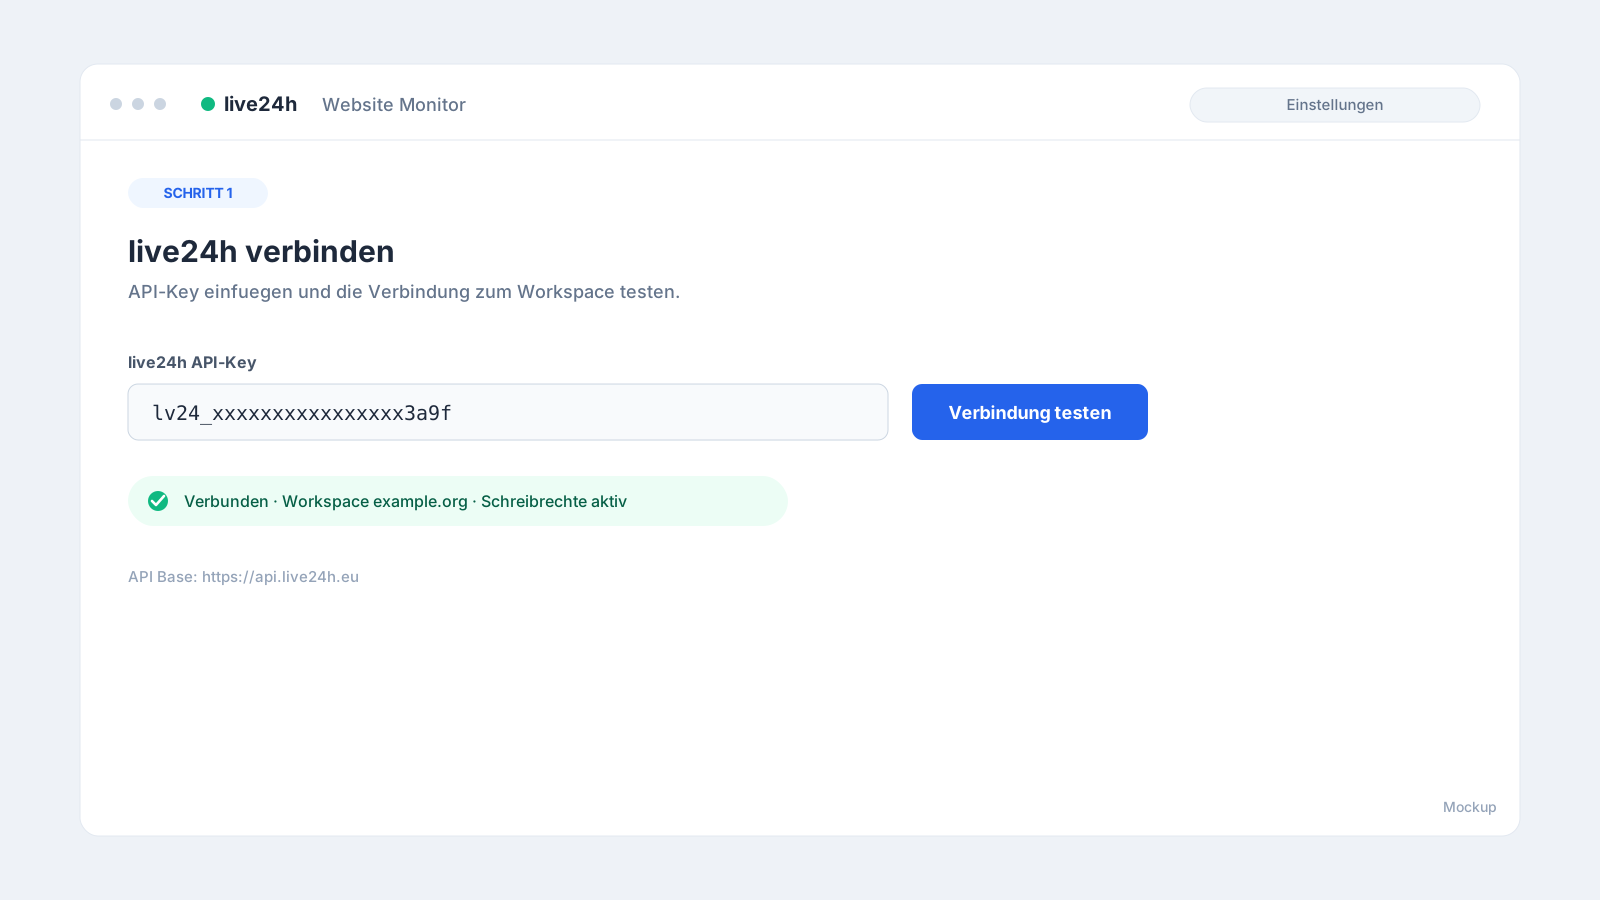
- Open the workspace settings and the API Keys section.
- Create a new key, for example
Website Monitor – example.org. - Choose write permission for checks. A read-only key is only enough for the connection test.
- Copy the key immediately after creating it. It typically starts with
lv24_. - Save the key in the respective plugin and use the connection test before you scan.
An API key is bound to a workspace on the server side. The plugin therefore does not need to select a workspace.
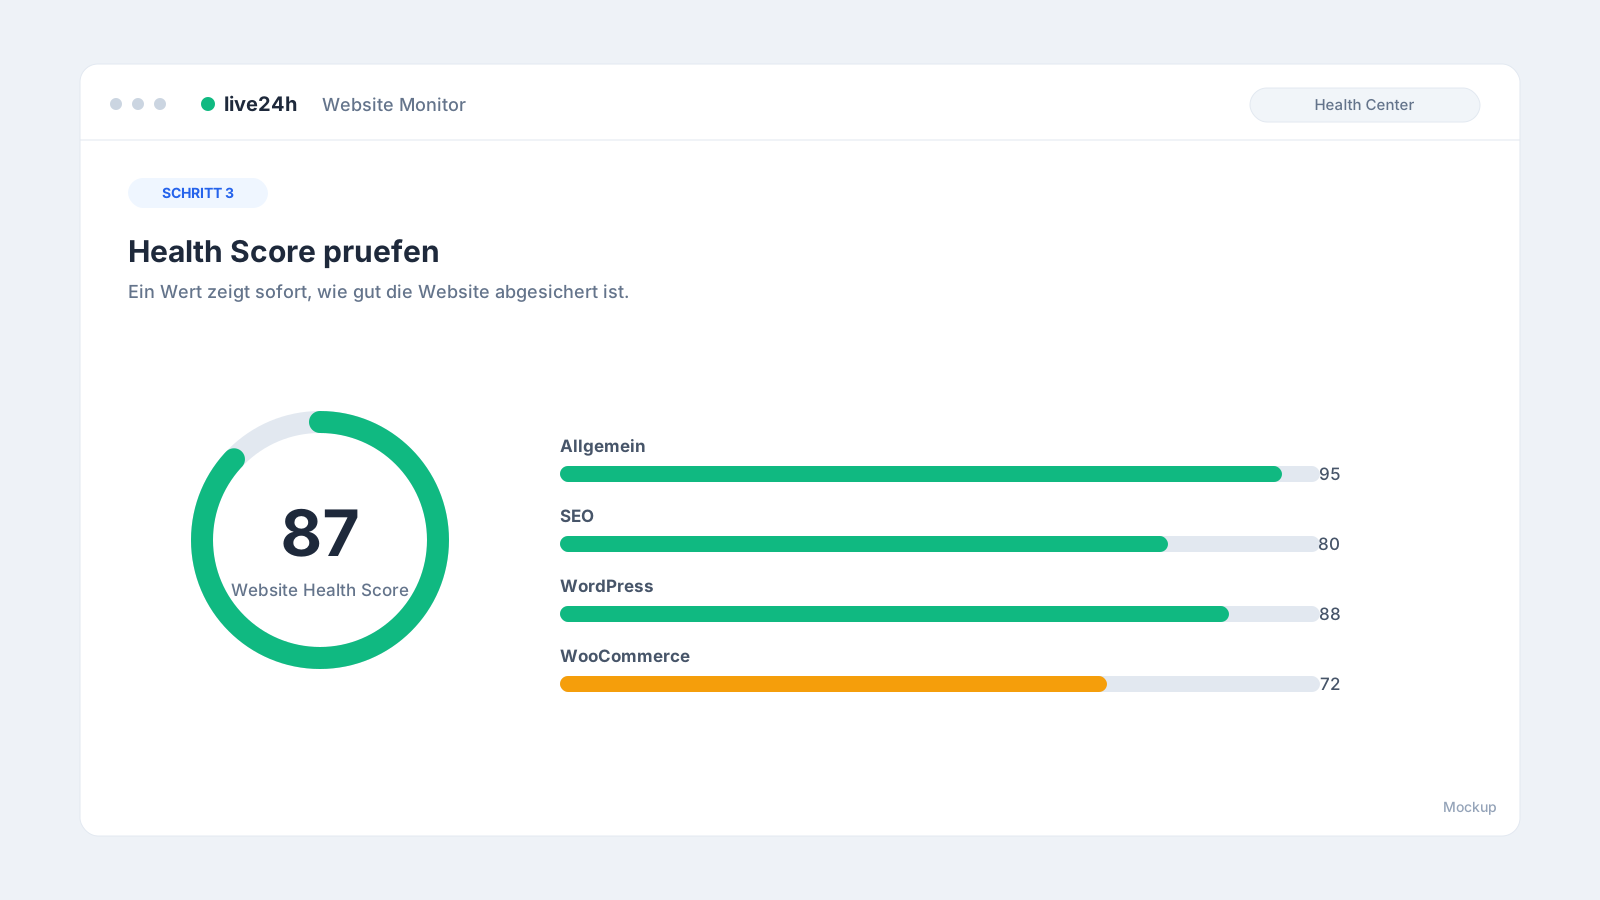
How every plugin setup works
The flow is the same in all plugins – only the entry point differs per system.
Guide for your system
Choose your CMS – each guide includes installation, the concrete steps and troubleshooting for exactly that system.
Upload the plugin, scan, create checks – including WooCommerce and WP-Cron.
Go to the guide →Open the wizard, scan sales channels, protect revenue paths and jobs.
Go to the guide →Enable the module, scan the shop, protect checkout, SEO, cron and SSL.
Go to the guide →Install the module, scan multistore, monitor revenue paths and cron.
Go to the guide →Composer setup, backend module or CLI, monitor sites and the Scheduler.
Go to the guide →Composer + drush, scan the site, protect pages, SEO and cron.
Go to the guide →Enable the bundle, scan Documents and Sites, protect per domain.
Go to the guide →Register the bundle, scan the app, monitor routes and workers.
Go to the guide →Composer package, scan the app, protect the Scheduler and queue workers.
Go to the guide →For further systems, monitoring can be set up via the live24h API .
Frequently asked questions
Which permissions does the API key need? To create checks, the key needs write permission in the workspace. A read-only key works for the connection test but returns a 403 error when writing.
Do I need to create a separate workspace for every plugin? No. You can decide per client, project or environment. For agencies, one workspace per client is often the clearest setup.
Are the checks run inside the CMS? No. The plugin only analyses and creates the configuration. The running checks are executed by live24h from several regions.
What happens if my plan does not include a check type? The plugins display such suggestions visibly but mark them as locked or “From Pro”. You can upgrade at any time.
Where do I get the plugins? Currently as a direct download from live24h. Listing on WordPress.org, the Shopware Store and the TYPO3 TER will follow.